|
|
    aHR0cDovL2ZyZWVzaGlwLmNvLmty aHR0cDovL2ZyZWVzaGlwLmNvLmty옵션정보[(100006055)20pcs] how to iron cloth stickers]
1. First put the cloth sticker in the position you want to paste. The side with hot-melt adhesive is attached to the clothes (the adhesive cannot be torn off). Preheat the iron and iron it from the front of the cloth sticker for 10-20 seconds to fix the cloth sticker in a fixed position. You can also fix the cloth paste position with a needle and thread before ironing to avoid the deviation of the cloth paste.
2. Turn the fixed cloth sticker together with the clothes (or other textiles) and iron it from the back for 30-60 seconds to ensure that the back glue melts and the cloth sticker is firmly attached to the clothes (or other textiles).
3. Finally, iron from the front for 1-2 minutes, mainly ironing the edges and corners of the cloth to ensure that the surface is flat and smooth and perfectly integrated with clothes (or other textiles).
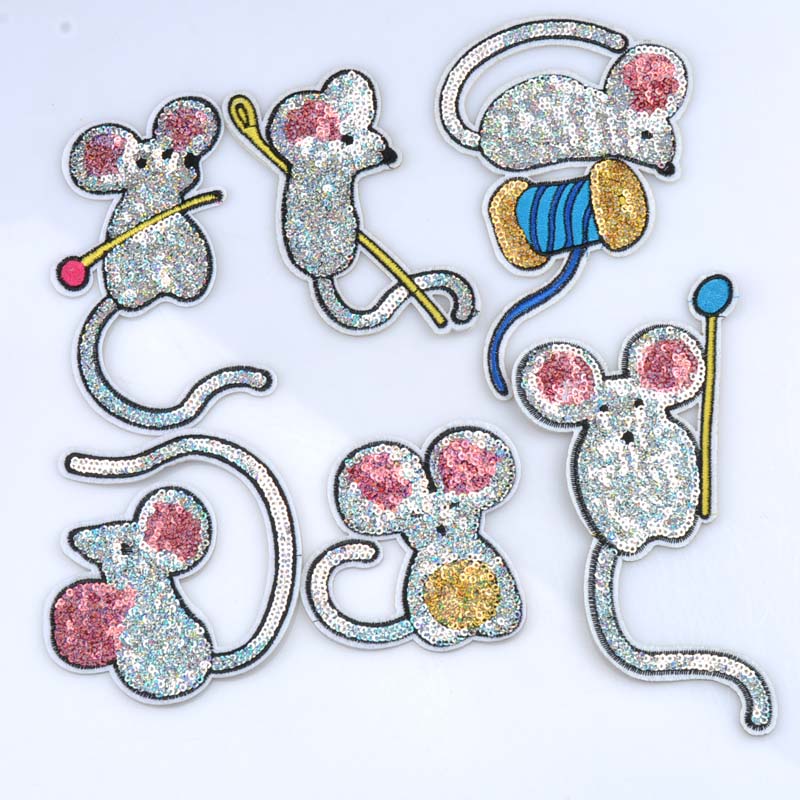
[precautions] cloth stickers with sequins, beads, rhinestones, silk flowers and wool balls, as well as cloth stickers embroidered with metal wires, should be ironed from the back first, and then trim the corners from the front after the cloth stickers are firmly fixed, so as not to damage the sequins or other ornaments on the front. Clothes (or other textiles) should be kept dry. When ironing, do not use an iron to spray water on cloth stickers or clothes. After ironing, cloth stickers can be closely combined with clothes (or other textiles) for a long time. If the cloth falls off after a period of time, or falls off after washing, it indicates that the iron temperature is low during ironing, or the ironing time is too short, you can restore the operation and iron the cloth again.


|
|
|
|
|


 배송기간
배송기간